Let's start from the next item in the FILE menu, that is: Hard Disk Interface. There are different types of Hard Disks but the most popular is the Sunrise IDE and that's what I'll talk about. Before going into specifics, I'll take a step back, let's go back to the beginning of the menu, to the item, Expansion Slot 1 and then click on the Insert Special item. A third drop-down menu will open. Moving the cursor over the IDE item, another menu of 3 items will open, click on the Sunrise item. The same goes if we want to do it from Expansion Slot 2. By doing so we have inserted the hardware on our MSX.
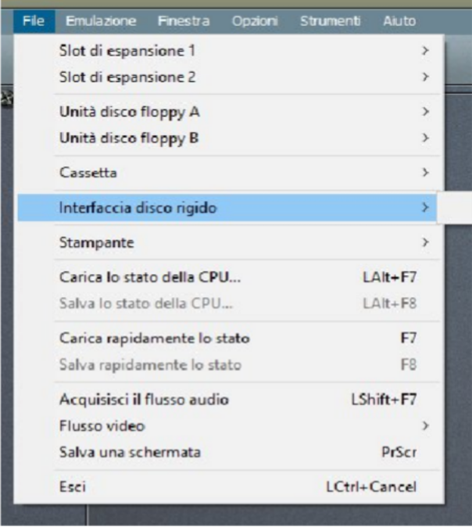
Let's go back to the item, Hard Disk Interface. Placing the cursor over it, a submenu will open with 3 items: IDE0 Sunrise Primary, IDE0 Sunrise Secondary and Remove all devices. The difference between the 2 is that the first is the boot one, exactly like drives A and B. The third item deletes all inserted HDs.

Always placing the cursor on one of the first 2, a drop-down menu will open again and always with 3 items. In the first item; Insert, we can search for an existing HD. In fact, clicking on the aforementioned item, the window for searching for files will open.
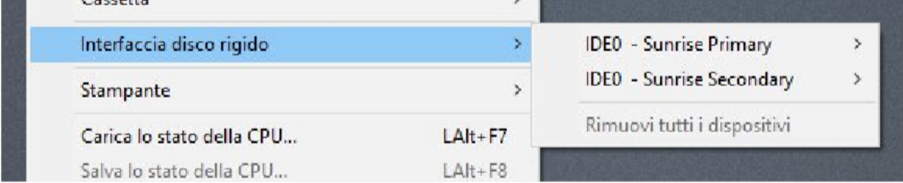

The Second: Insert a new disk, it will create a new HD. Once created we will give it a name and we will be able to choose its size. You will see that by default it is 20 MB, but by clicking on the arrow next to it you can choose the desired size (from 5MB up to 200MB). To activate everything, we click on the RESET button at the top.
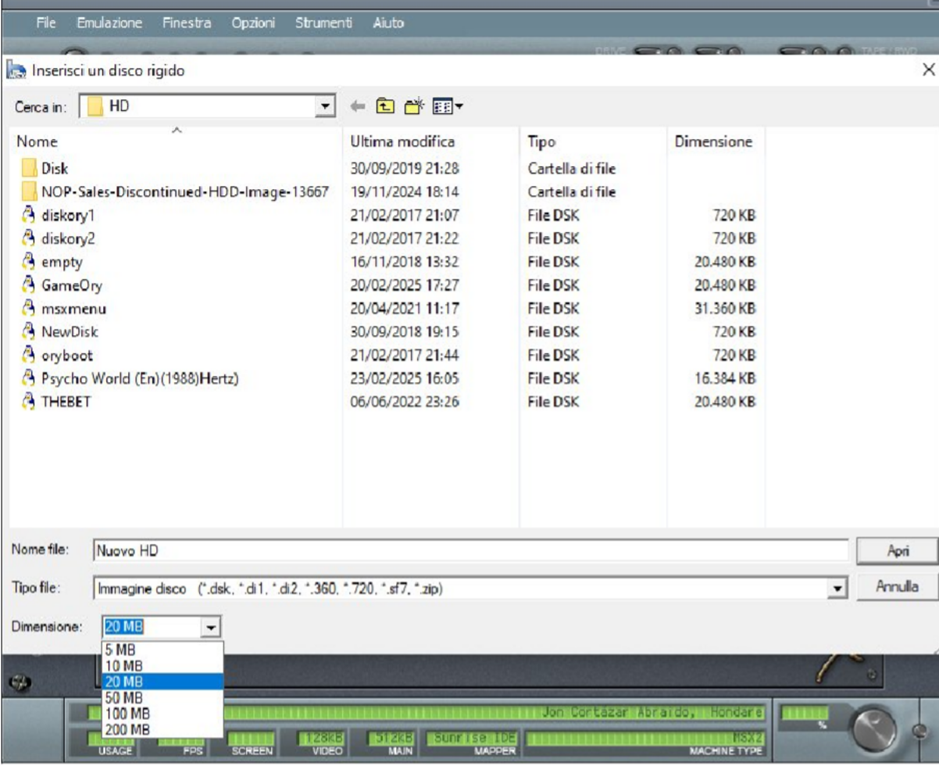
The last item: Remove, will erase the present HD.
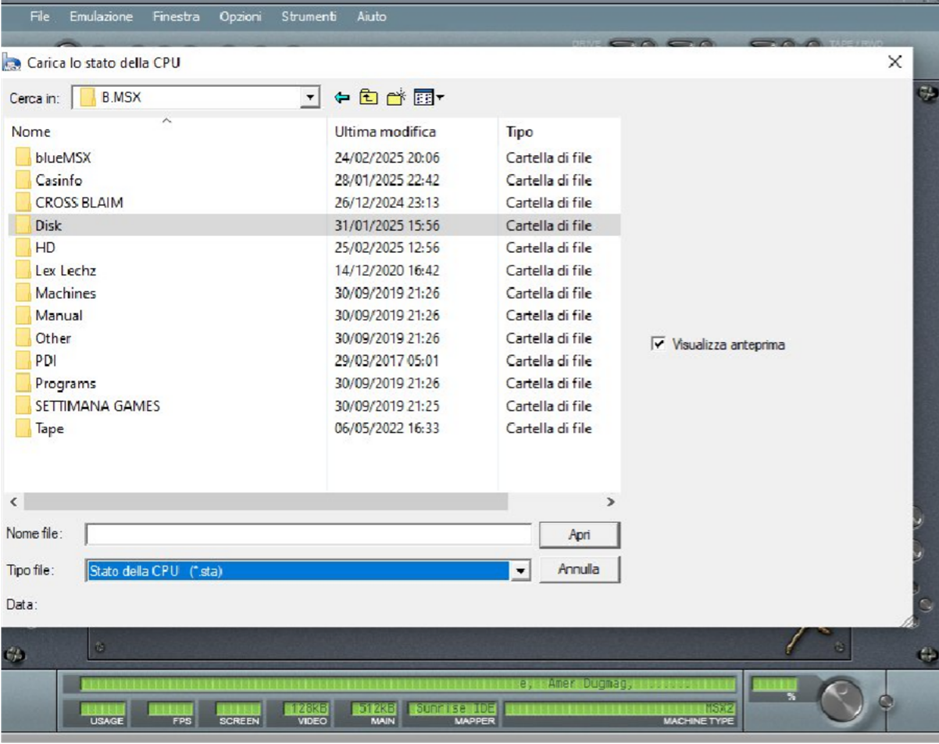
Let's skip the PRINTER entry and move on to the next one: Load CPU status. It is used to load a game or anything else previously saved with
the next item: Save CPU state. We can also use the shortcut using the keys, left ALT + F7 to load, left ALT + F8 to save. The same thing goes for the next 2 items: Quickly load state and Quickly save state (F7 and F8 keys). The difference between the 2 choices is that in the first case the state is saved in a file with STA extension, so in this way we can do all the saves we want. Later to recall the files, clicking Load state or left ALT + F7, the search menu will open. While in the second case, that is the quick one, it will be saved without a name and then clicking on the F8 key or on the aforementioned item, it will be loaded directly. Let's remember that with this last method, every time we save, it will take the place of the previous one.
Audio Stream Acquisition, since it is not important, let's skip this entry.
The Video Stream voice manages the videos. Not knowing it because I have never used it, I cannot speak about its functioning. I will try to fix it later.
Save a screenshot, you will have already understood that it is a screen shot. To speed up the procedure we will use the Stamp R or PRINT R key (the name changes according to the keyboard you are using). It will save the image directly in the folder of the
program. You can find this folder by opening the BlueMSX APP and clicking on the BluMSX folder again. The name is SCREENSHOTS. Finally, the EXIT item terminates the emulation. Same thing with left CTRL + Del.

Let's now move on to the second item in the main menu: Emulation
There is little to explain, and moreover these are arguments that we will use differently. In fact, you will see that this entry will never be used.
RUN: Runs an installed cartridge. F9 key STOP: Stops execution, resetting the system. F10 key HARDWARE RESTART: Resets the hardware components. F12 key
SOFTWARE RESTART: Resets programs in RAM. Left CTRL key + F1 FULL RESTART: Initializes the entire machine, disabling all added components. Left CTRL key + left ALT key + F12.

Third Main Menu Item: Window
This one is also very simple to understand. It contains only 3 entries.
The first item: Reduce Window, which can also be activated by pressing the left ALT + F10 keys, makes the window smaller, approximately 20X20 CM.
The second entry: Normal Window, which can also be activated by pressing the left ALT + F11 keys, is the Default window, it doubles the size of the first.
The third option: Full screen, is also activated by pressing left ALT + F12, as the word itself says, it opens in full screen. Using this last option, to be able to use the menu at the top, since when this last option is activated, it will no longer be visible, we must position the cursor on certain points at the top left.
As we “touch” one of the menu items, it will appear, so by clicking on it we can choose the desired option.
Until next time.